Need A Part Machined? CALL NOW
Quality ISO 9001 Traceability Inspection Measurement
ISO 9001
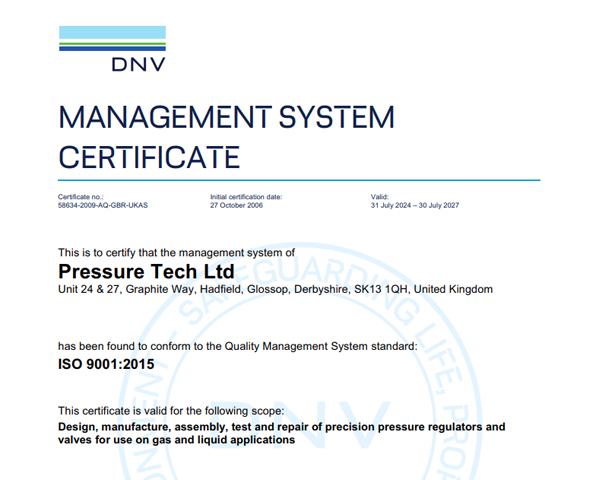 | From the very beginning, Asgard has invested in quality and this is reflected in the quality of service our customer's receive, and in the components we manufacture. As we're ISO 9001:2015 certified (certificate number 58634-2009-AQ-GBR-UKAS), you can have confidence in all your CNC turned parts requirements. Remember ISO certification covers the delivery reliability as well as the accuracy of the components we supply! |
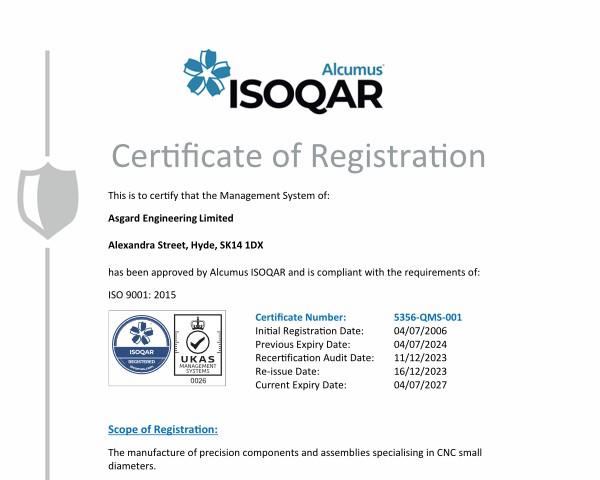
From the very beginning, Asgard has invested in quality and this is reflected in the quality of service our customer's receive, and in the components we manufacture.
As we're ISO 9001:2015 certified (certificate number 58634-2009-AQ-GBR-UKAS), you can have confidence in all your CNC turned parts requirements. Remember ISO certification covers the delivery reliability as well as the accuracy of the components we supply!
As we're ISO 9001:2015 certified (certificate number 58634-2009-AQ-GBR-UKAS), you can have confidence in all your CNC turned parts requirements. Remember ISO certification covers the delivery reliability as well as the accuracy of the components we supply!
 | All raw materials, i.e. bar, received into Asgard are allocated a unique identification number. When components are machined the bar’s identification number is transferred onto accompanying order paperwork, maintaining the link to the raw material. Traceability is an essential part of our Quality system, ensuring all components produced within our machine shop can be tracked back to the original raw material used to manufacture them. Where necessary, this enables root cause analysis to be performed, meaning issues can be quickly identified and solved. |

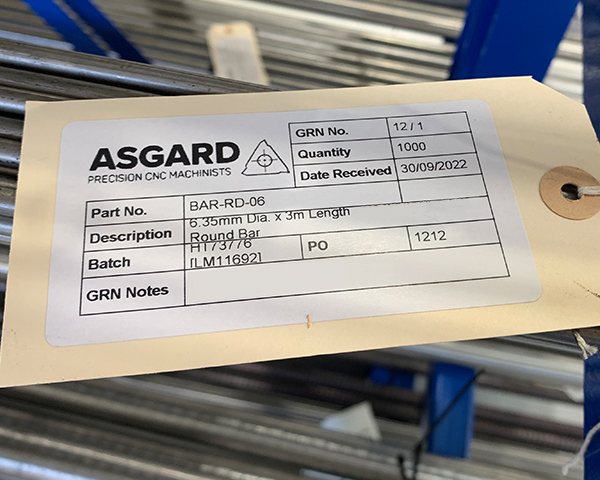
All raw materials, i.e. bar, received into Asgard are allocated a unique identification number. When components are machined the bar’s identification number is transferred onto accompanying order paperwork, maintaining the link to the raw material.
Traceability is an essential part of our Quality system, ensuring all components produced within our machine shop can be tracked back to the original raw material used to manufacture them. Where necessary, this enables root cause analysis to be performed, meaning issues can be quickly identified and solved.
Traceability is an essential part of our Quality system, ensuring all components produced within our machine shop can be tracked back to the original raw material used to manufacture them. Where necessary, this enables root cause analysis to be performed, meaning issues can be quickly identified and solved.
 | We typically adopt AQL (Acceptance Quality Limit) sampling for each order machined, but may go beyond the requirements of AQL depending on the criticality of the component’s dimensions. In addition we can offer SPC (Statistical Process Control), which is particularly useful when tight tolerances are requested. SPC closely tracks critical dimensions on every component produced and shows trends in real-time. This allows the machinist to spot if a measurement is deviating from what is required and to quickly make adjustments before the component has gone beyond acceptable limits, saving time and money. |

We typically adopt AQL (Acceptance Quality Limit) sampling for each order machined, but may go beyond the requirements of AQL depending on the criticality of the component’s dimensions.
In addition we can offer SPC (Statistical Process Control), which is particularly useful when tight tolerances are requested. SPC closely tracks critical dimensions on every component produced and shows trends in real-time. This allows the machinist to spot if a measurement is deviating from what is required and to quickly make adjustments before the component has gone beyond acceptable limits, saving time and money.
In addition we can offer SPC (Statistical Process Control), which is particularly useful when tight tolerances are requested. SPC closely tracks critical dimensions on every component produced and shows trends in real-time. This allows the machinist to spot if a measurement is deviating from what is required and to quickly make adjustments before the component has gone beyond acceptable limits, saving time and money.
 | Manufacturing such small components whilst working to high precision tolerances of ±10 microns requires the very best measuring equipment to check and report back compliance to customers. This is especially important when the accuracy of components is critical to customer applications. This is where our Keyence digital measurement system comes into its own with its range of specialist measurement tools, built-in dimensional reporting feature and its speed of measurement. We are able to ensure repeatability of the machining process and the quality of components we produce. |

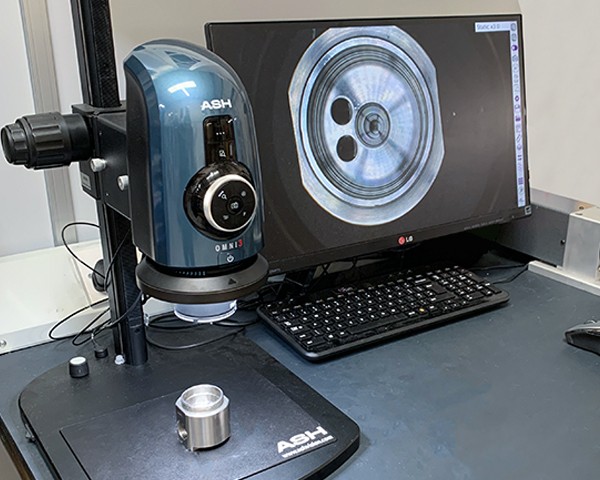
Manufacturing such small components whilst working to high precision tolerances of ±10 microns requires the very best measuring equipment to check and report back compliance to customers. This is especially important when the accuracy of components is critical to customer applications.
This is where our Keyence digital measurement system comes into its own with its range of specialist measurement tools, built-in dimensional reporting feature and its speed of measurement. We are able to ensure repeatability of the machining process and the quality of components we produce.
This is where our Keyence digital measurement system comes into its own with its range of specialist measurement tools, built-in dimensional reporting feature and its speed of measurement. We are able to ensure repeatability of the machining process and the quality of components we produce.
